Happy (almost) new year! We’re happy to give you a year-end progress update on this exciting new Lobster Boat. The hull is built, and now we’re working on the fun part . . . building out the interior details and ensuring everything fits together into a beautiful yet functional design.
Comparing Old & New
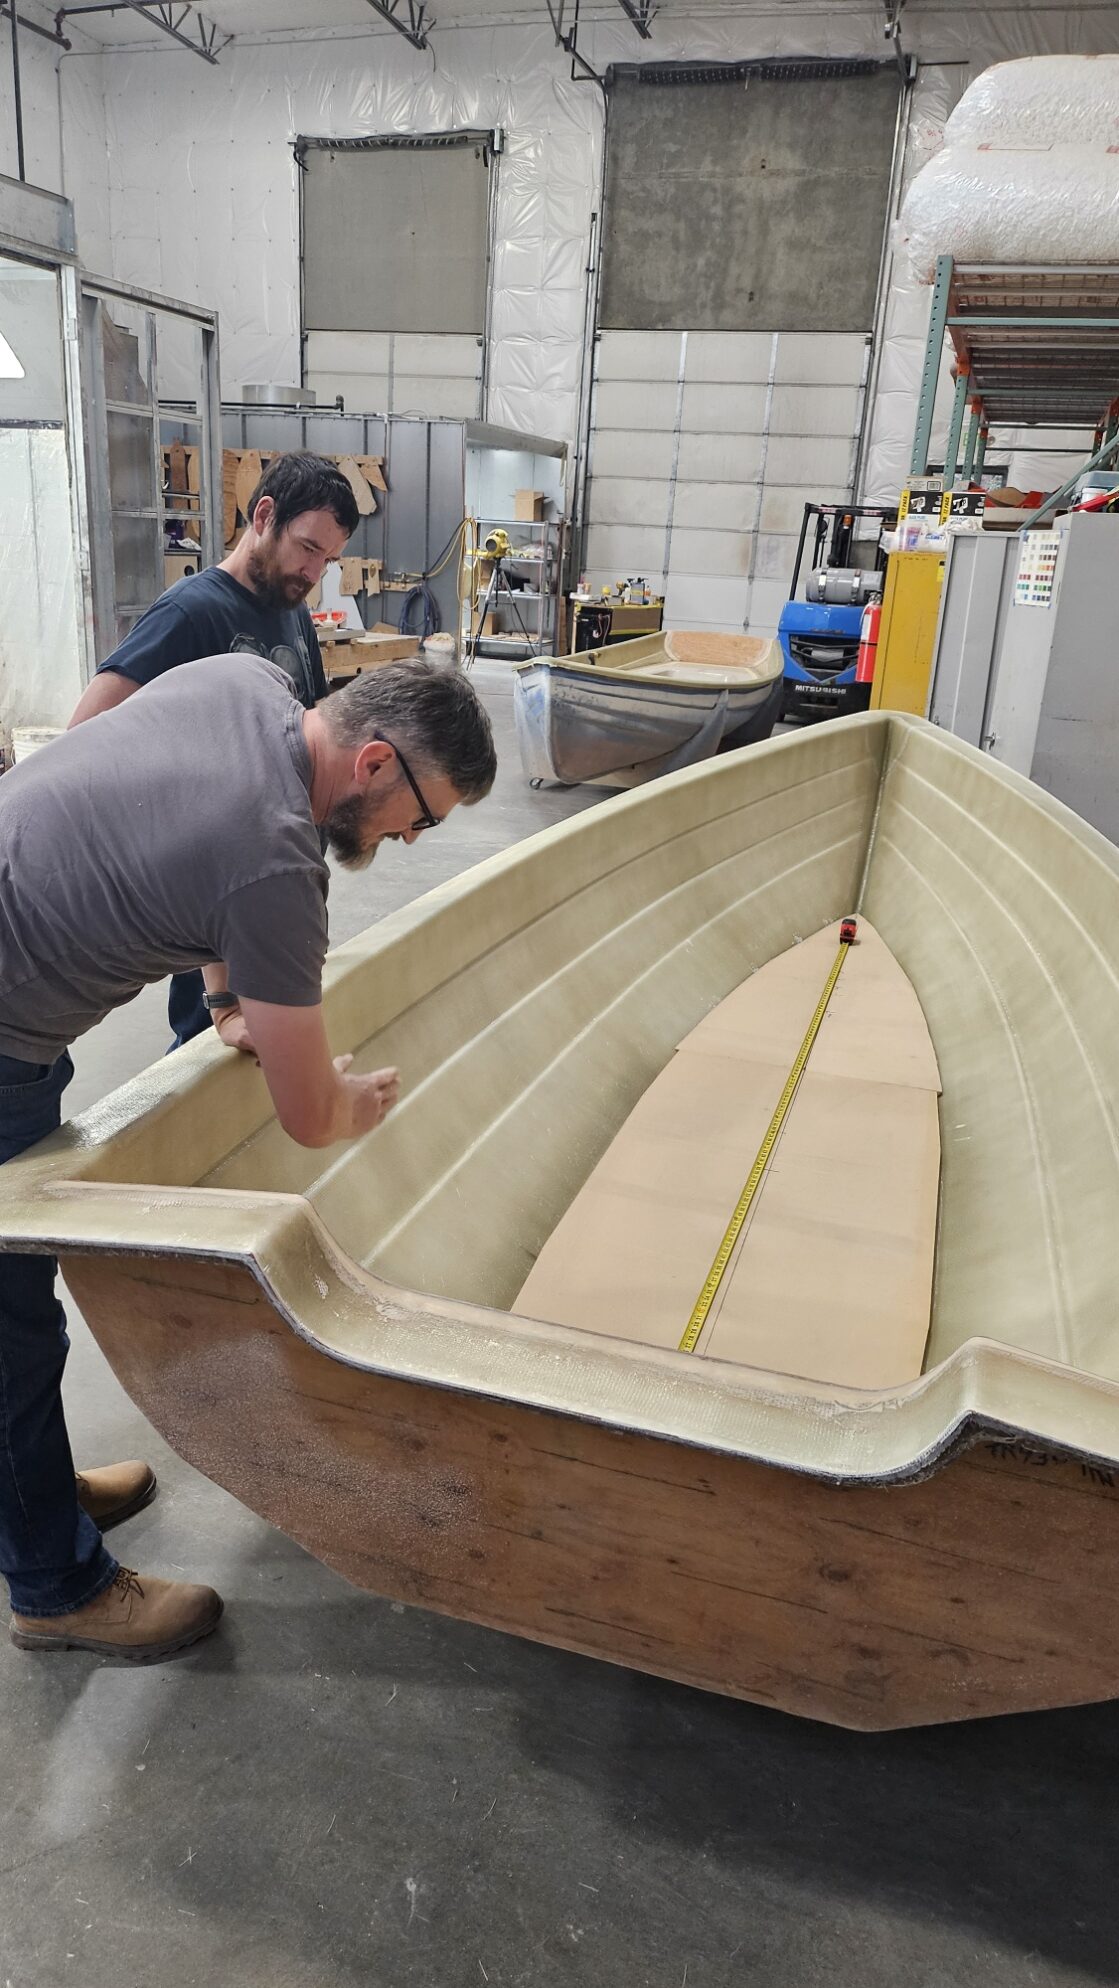
Here you see the new empty Lobster Boat hull in the mold on the right. Dave and Jeremy are gathered around Katie’s original lobster boat on the left, talking about how we want to adapt and improve the interior.

Note: There’s some camera angle distortion in the photo above that makes the new Lobster Boat look larger than it is, since the new one is closer to camera than the old one. BUT, one important thing to note is that the new Lobster Boat transom IS actually a couple of inches deeper than the old one… a LONG SHAFT motor will be recommended for the new version!
Floor Liner
The old Lobster Boat was unlined, but we decided to add a floor liner to the new version. For one thing it will be easier to build the interior with the mold as all one piece, but it also will give the boat cleaner, more appealing lines, and just make it a stronger product overall. It will make the boat slightly heavier, but since most people are trailering this boat, that’s not a big concern. It’s still going to be WAY lighter than other fishing-oriented powerboats on the market.
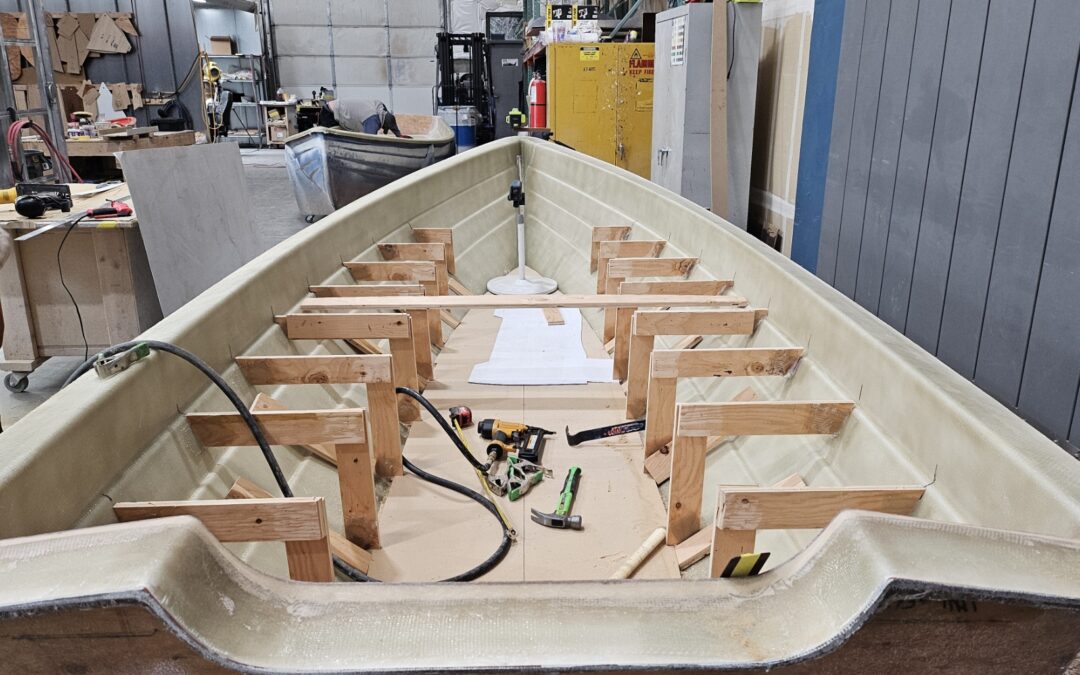
All of the interior structures you’ll see in this post are temporary. They will be used to create the interior “plug” that we use to make the mold from (just like we previously did for the hull). We’ll rough things out first and make sure they fit together, then we’ll do the fine detail work when the design is set. We lay in the mold around the precise structures, so we’ll have all the shapes and details molded into the final fiberglass liner.
With the floor liner in place, we then had to determine where the seats would go.
Seat Layout
Here you can clearly see the structural frames for the seats. If you look at that pole toward the bow end, you’ll see the laser level that we’re using to mark the seat height on the inside of the hull, so the frames are aligned exactly right.

As we’re designing the seat layout, we’re thinking about where enclosed storage will go. (Imagine a pair of hatches roughly where you see that 1 x 4 laying across the middle of the boat). We’re also thinking about seat height, and what most people find comfortable. The new seats are 14″ high, vs 12″ in the previous version.
Centerboard Trunk & Mast Step Structures
The most critical components of the entire interior are the sailing components—the centerboard trunk and mast step. Once they’re in place, everything else can be designed around them. Dave calculated out a position for the mast step that should work for both Balanced Lug and Sloop rigs, so we only need to build one mold for those parts.
Since the Balanced Lug rig is unstayed, we’ve also got to design structural support for the mast into the step. The mast step is integrated into the seat, so that’s giving Falk a fun puzzle to solve.
Bow Features
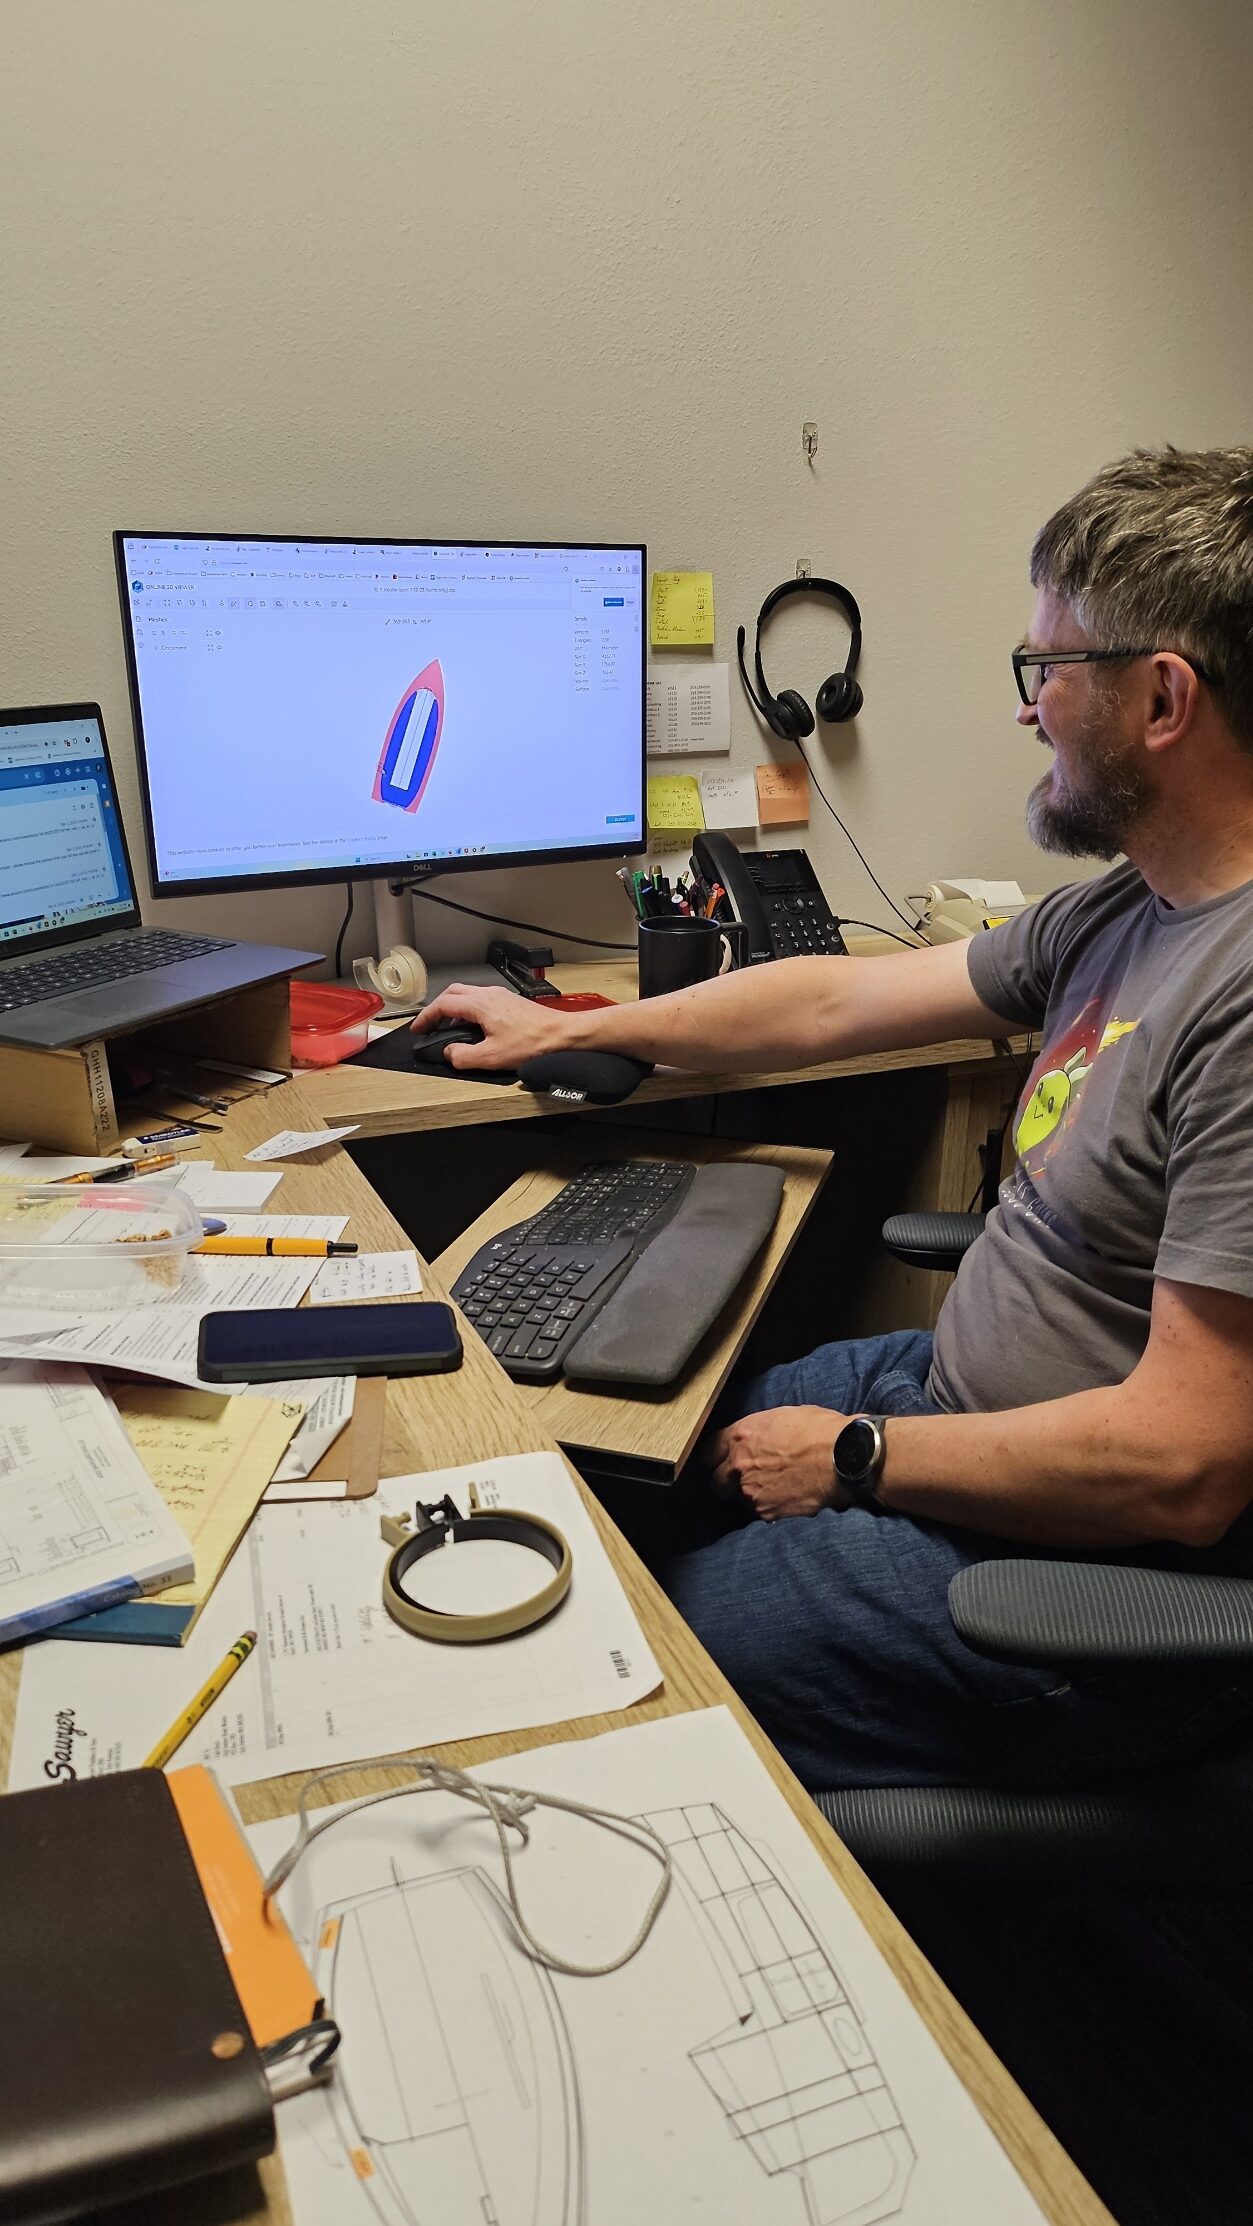
While we can turn around a 3D model until our heads spin, good old-fashioned cardboard is a helpful and inexpensive tool at this point. We can mock up our parts showing where the structural elements need to be, and then physically move around the boat and make sure we have the right amount of space for feet/gear/etc. It’s a highly un-technical but hugely helpful way to visualize the end product without setting anything in stone (erhm… fiberglass!).
In the photo below, the cardboard in the bow represents a raised area to keep your stuff off the floor. That area is also sheltered by the deck (represented by the cardboard sitting on top). We envision this being a good place to stash stuff you need to get to easily, like life jackets. (We’re also imagining an optional cargo net to help tuck loose objects up there while you’re underway.)
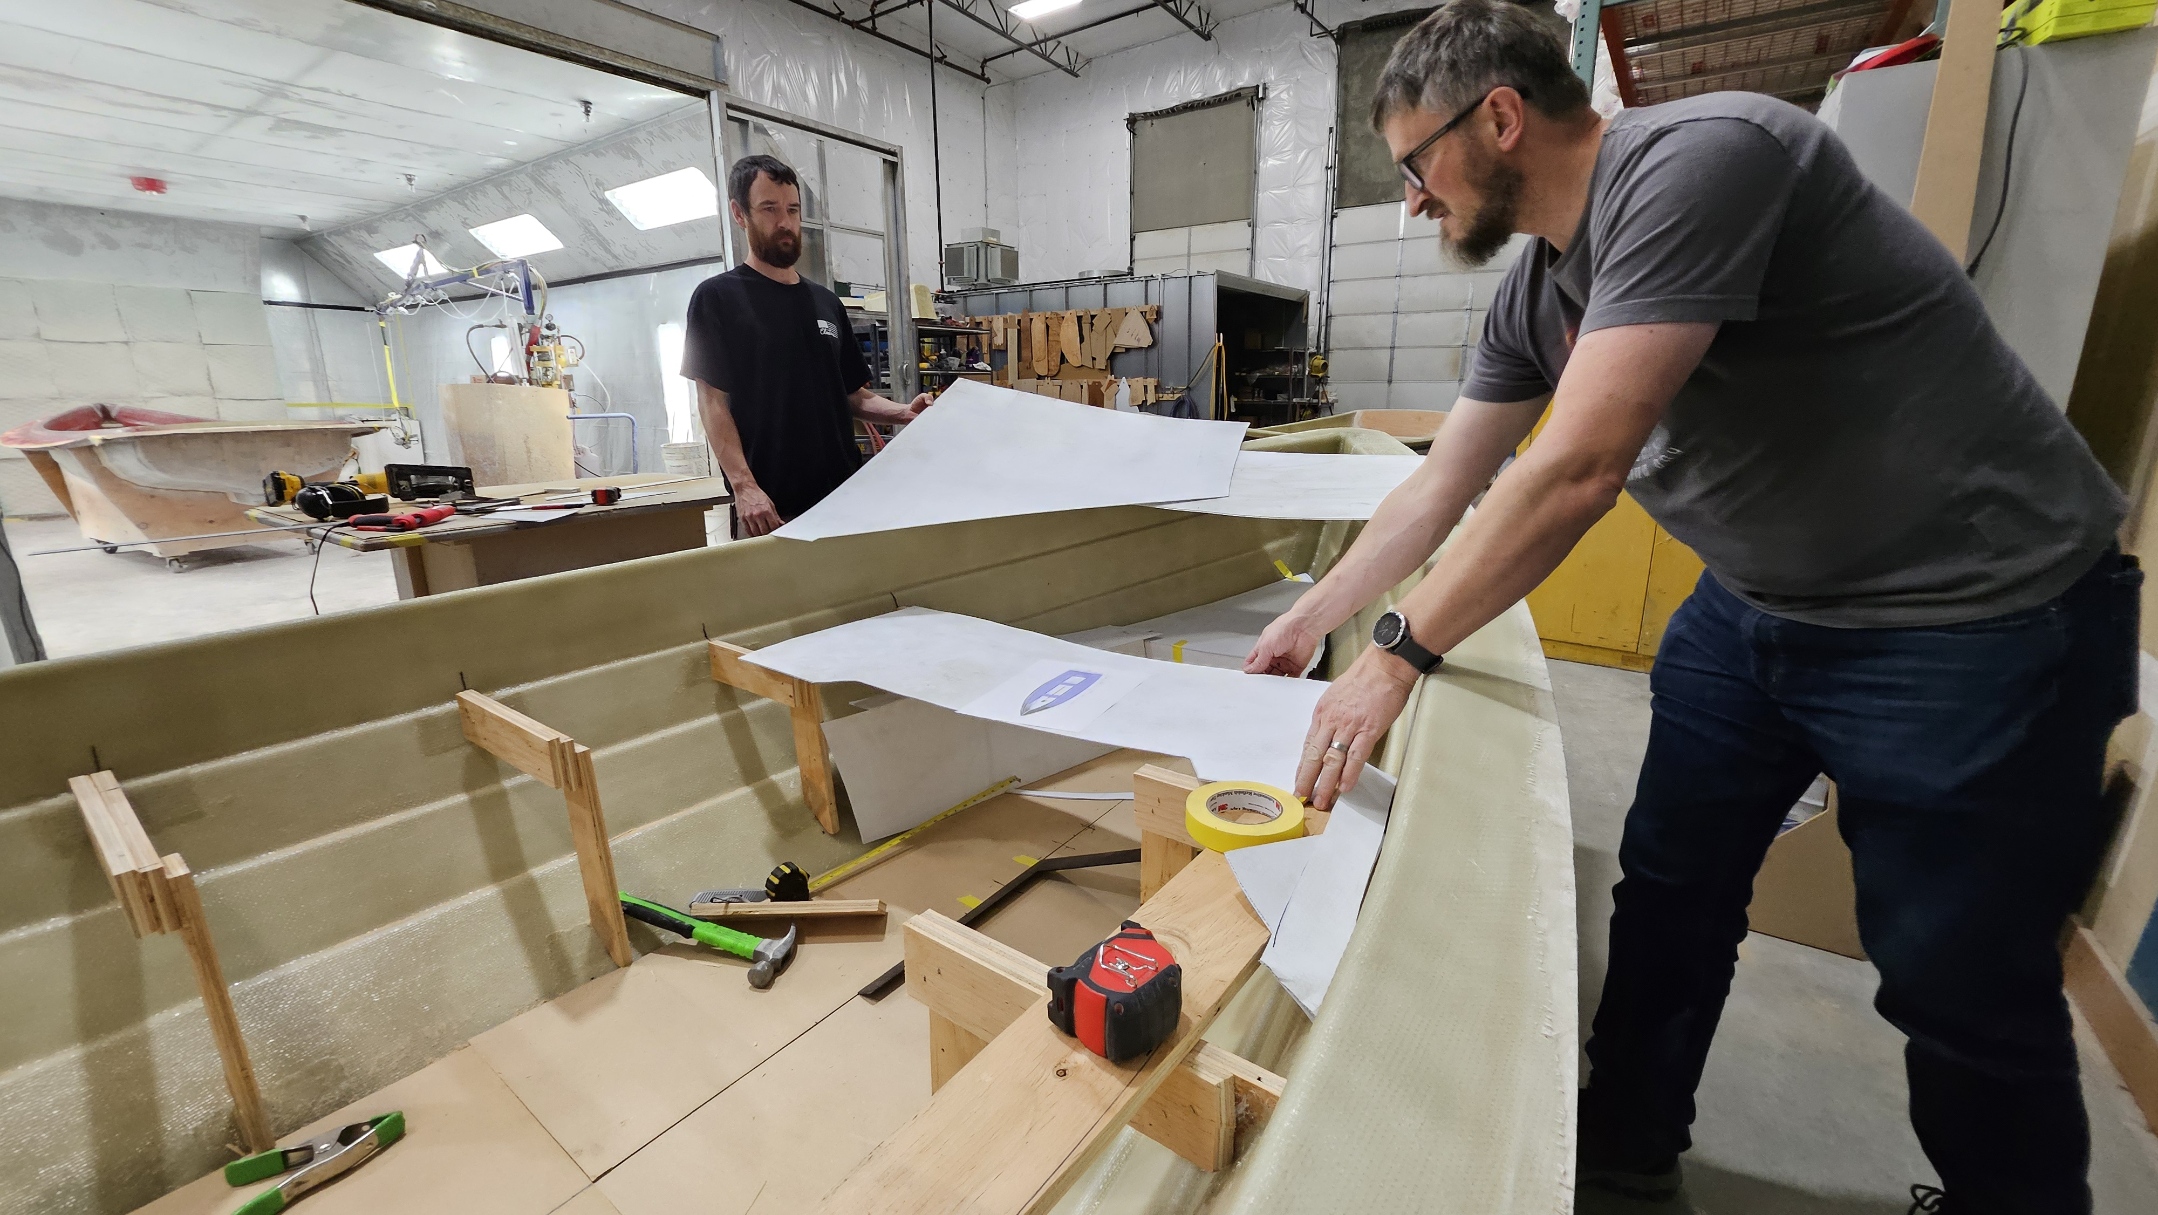
while Jeremy holds cardboard in place representing the curved edge of the deck.
From another angle, you can see better down into the floor area at the bow. A low step connects the bow platform to the side seats. That should make it easy to step in from the beach when needed. There’s also plenty of room in the footwell if a passenger wants to sit facing forward while under motor power.
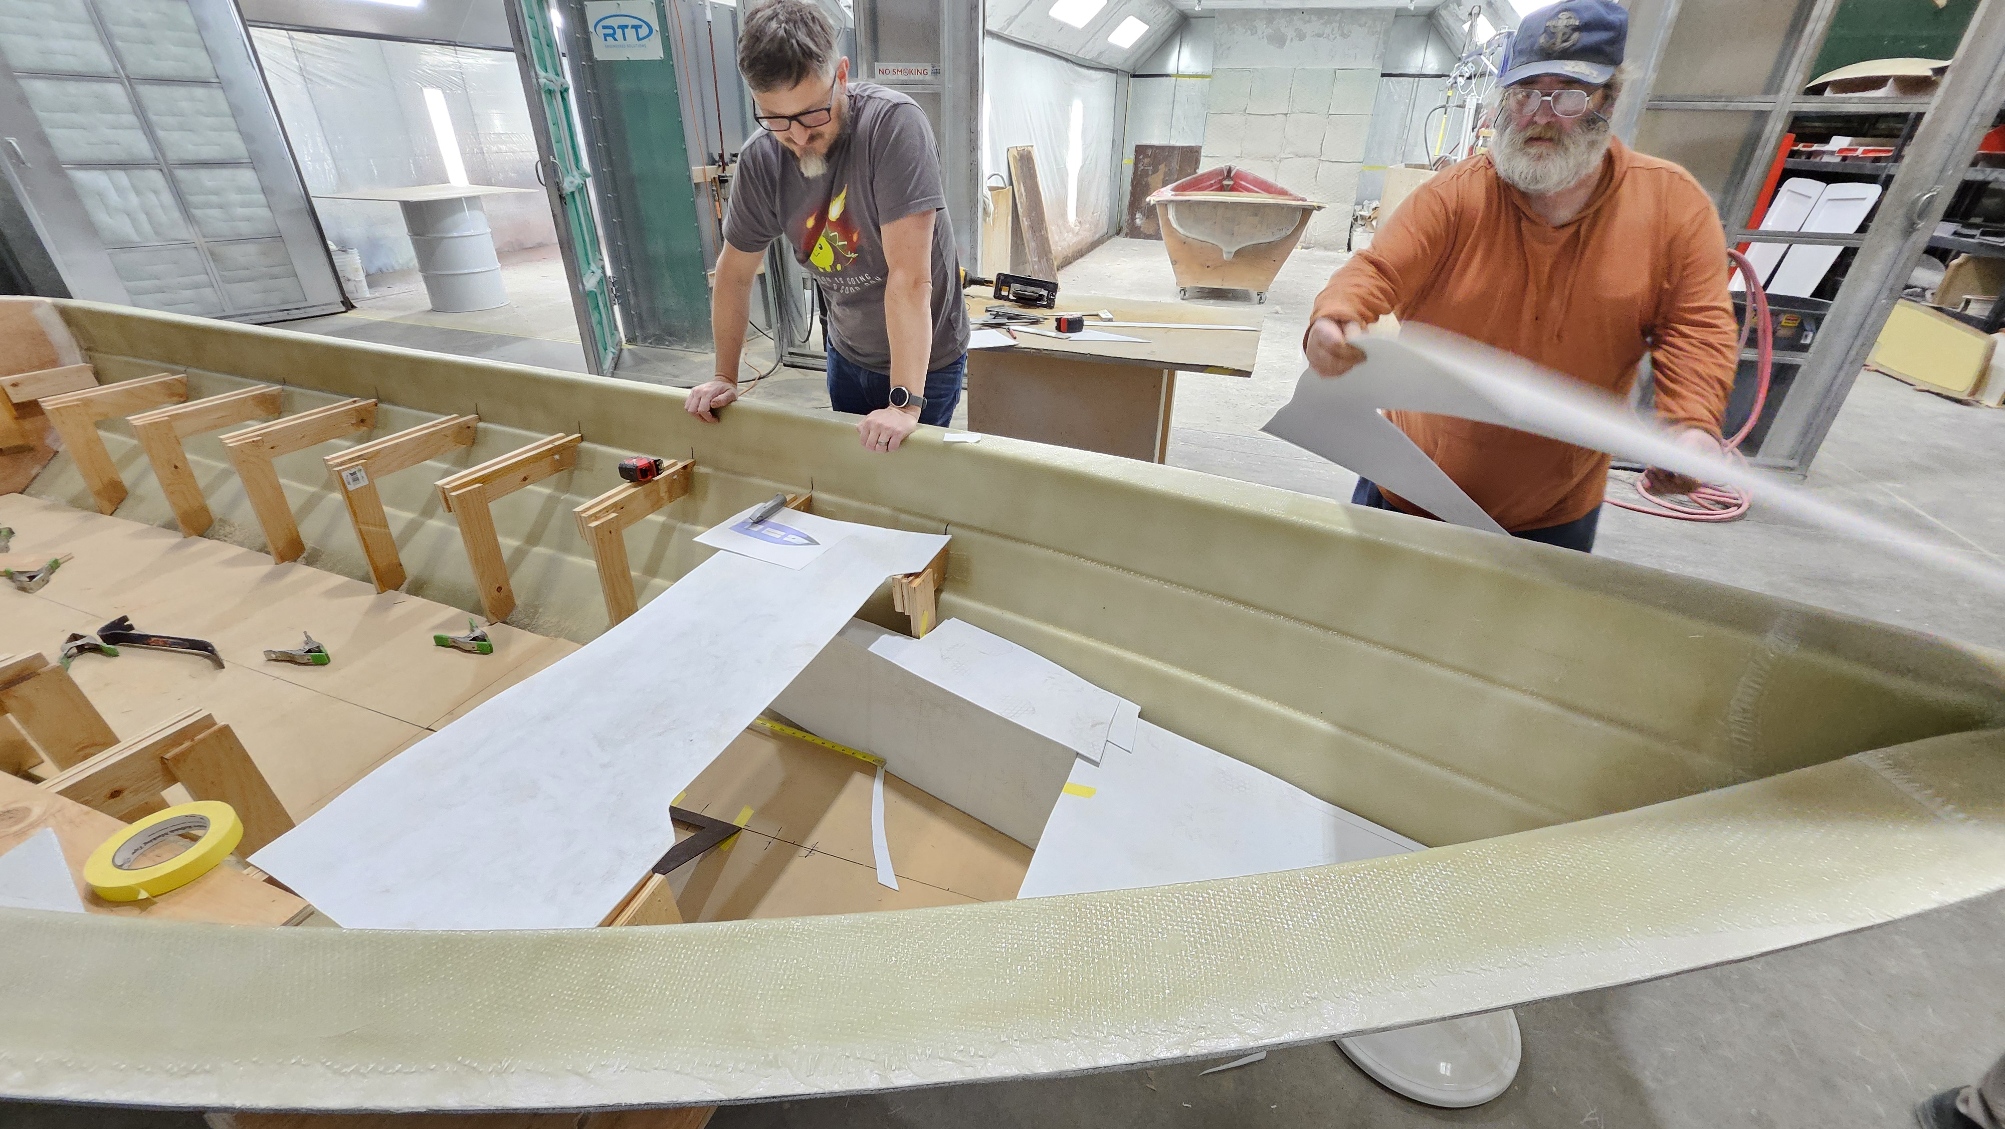
Video “Tour”
To get the best idea of see how it all ties together, don’t miss this short video “tour” with Falk. It takes some imagination to go from drawings to cardboard to a real-life complete boat. Hopefully this helps you see where we’re headed!
P.S. We have ONE remaining pre-order special for a Lobster Boat sailing version at $2000 off regular price. Email us here or call us at 253-851-2126 if you want to call dibs. Heads up, we’ll be closed on Jan 1st. Happy New Year!
